Kneading is the foundation of every great roti, and it is a skill that improves dramatically with practice and a little understanding of what you are trying to achieve. Proper kneading develops gluten — the protein network that gives dough its elasticity — and ensures the flour and water are fully, evenly combined.
Begin with your atta in a wide bowl or on a clean surface. Add warm water gradually, mixing with your fingers as you pour. Once the dough comes together, knead using the heel of your palm — push forward, fold back, quarter-turn, repeat. Do this for 8–10 minutes until the dough is smooth, slightly tacky, and springs back when poked.
The window-pane test works for roti dough too: stretch a small piece — if it holds without tearing, gluten is well developed and your rotis will be soft and pliable.
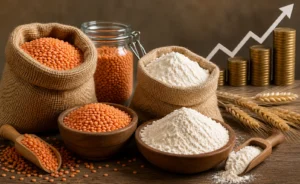
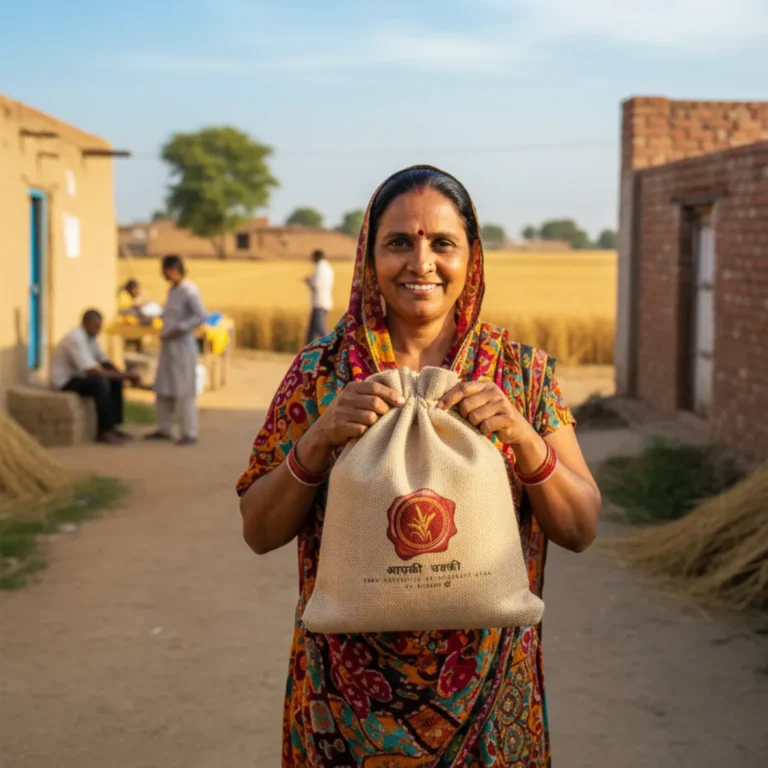
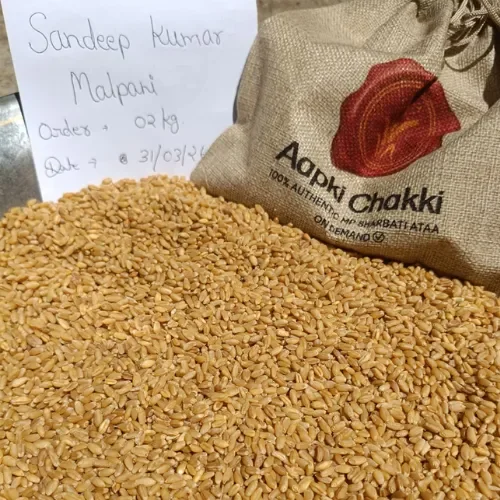
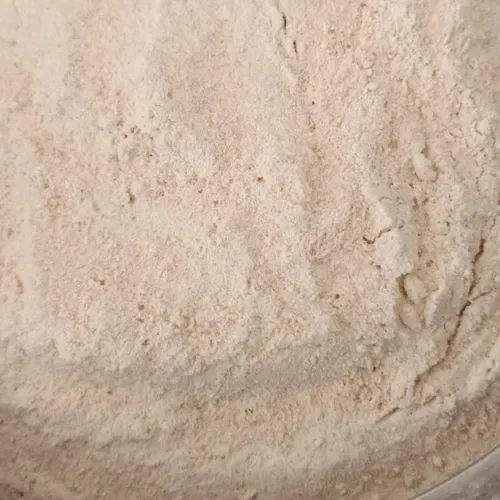
One reason home bakers find kneading difficult is poor-quality atta that doesn’t hydrate evenly. Aap Ki Chakki MP stone-grinds their wheat to a fine, consistent particle size, which means every bit of flour absorbs water at the same rate, making kneading easier and more predictable. Their freshly milled atta is available at aapkichakki.com.
After kneading, cover the dough with a damp cloth and rest for 20–30 minutes. This is not optional — resting relaxes the gluten, making the dough significantly easier to roll thin and producing rotis that puff perfectly on a hot tawa.